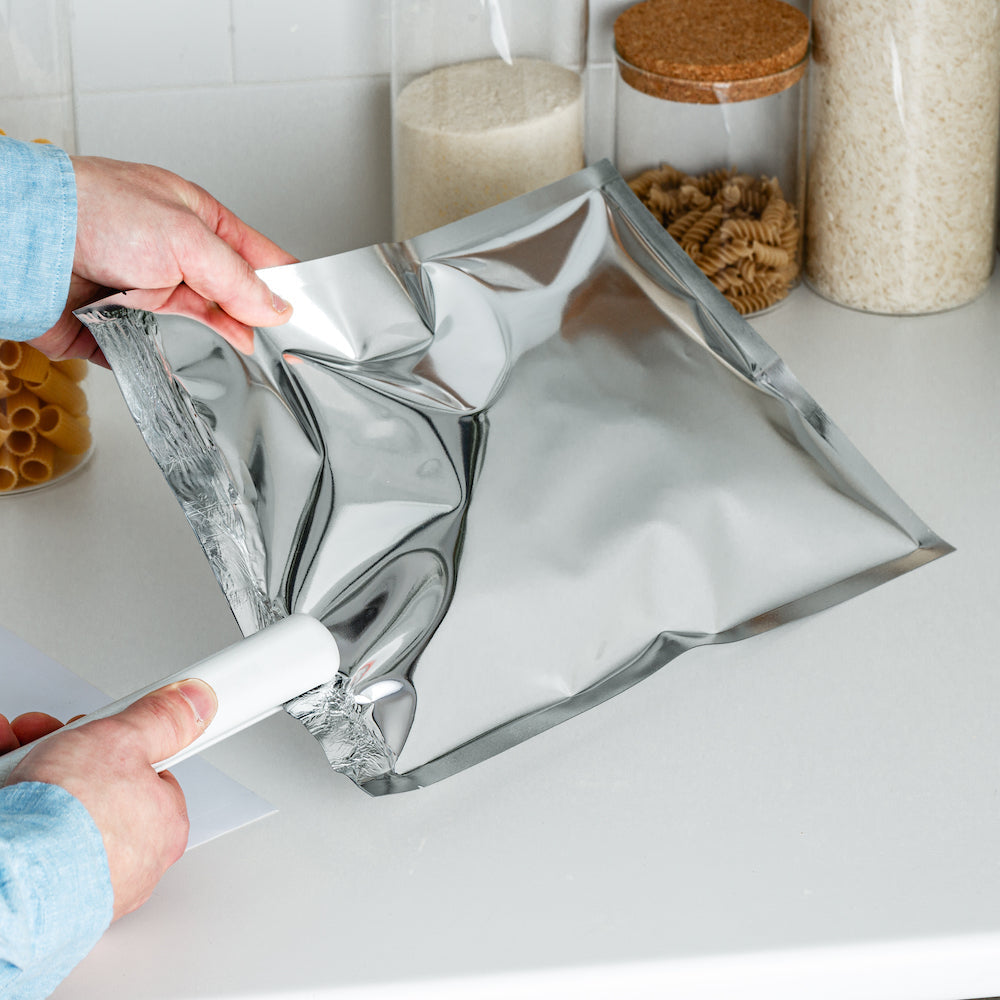
Effective food storage is dependent upon proper packaging. Mylar bags are a powerful tool when it comes to long term food storage, but it’s important to make sure bags are airtight. There are a few ways to do this, depending on what you have on hand.
We suggest beginning the process with all of your materials set out. Have your food prepared, and the appropriate number of Mylar bags and oxygen absorbers, and your heat sealing option. Grab other tools like stickers and a pen for labeling. You may also want to consider a second level of protection, such as a food-safe bucket that sealed Mylar bags can be contained within.
Ensure you’ve considered how many bags you’ll need, and how many oxygen absorbers based on the volume. Have everything easily accessible so that the oxygen absorbers don’t lose their effectiveness. As you seal bags, leave a small opening (about 6 inches) so that you can drop in an oxygen absorber right before you close the bag.
Here are some of the best ways to seal Mylar bags once they’re packed:
- Impulse sealer - These tend to be more expensive, but they work really well for sealing Mylar bags in a quick and uniform way. Line the edge of the bag along the edge of the heated bar and press down on the lever for a 2-3 seconds.
- Hair straightener - If you have a good quality one of these on hand, place the bag ends within the clamp and run it from end to end, closing the seal. This works best with metal straighteners, not ceramic ones.
- Clothing iron - This appliance is something most people have in their home, and works well for sealing bags. Set to the wool setting. One or two passes over the bag creates a great seal and is safe for both the iron and the bag.
- Food saver - Many people think of a food saver when they think of sealing bags. It is an acceptable option for some smaller plastic items like gallon or quart bags. However, caution is required. In most cases, a food saver doesn’t get hot enough to work on Mylar material. Furthermore, depending on the setting, the sealer might create the seal before all of the air is vacuumed out, which can decrease the effectiveness. Remember that it’s ok to have some air in the bag as long as you’re using oxygen absorbers (removing the harmful air (oxygen) is their job after all).
A few notes: Not all bags will “look” vacuum sealed. Some air will remain, but the only harmful part is oxygen (and again, the oxygen absorber will take care of that). Products with a higher interstitial air volume often don’t have the appearance of a vacuum packed container. That doesn’t mean the process hasn’t worked.
Additionally, even Mylar bags that have a zipper still need to be heat sealed for long-term food storage. Close the zipper and heat seal right above it for 100% airtight seal.
Finally, if you want to use the bags more than once, that’s totally doable. You’ll just rip or cut it open under where you originally heat sealed, remove the contents as you please, refill it, and then heat seal again below where you opened it - just don’t forget to add a new oxygen absorber before you reseal.
To make your life easier, we suggest purchasing a bundle that comes with Mylar bags, oxygen absorbers, and sticker labels - everything you need for long-term storage preparation - plus determine your desired heat sealing option from the above list. A bundle is an easy and cost effective way to have all of your materials at hand and streamline your food storage efforts. For more food storage ideas, browse our blog and our high quality products.
SHARE:


